GST INVOICE ON EVERY BILLDelivery across Delhi & NCRSultanpur, Delhi ↗
Soft close and auto close concealed hinges

From the counter

Buying guides

The questions we answer most often, written down properly. No sales copy — if the cheaper option is the right one for your job, these say so.

01

Soft Close vs Auto Close Hinges: Which Kabja to Buy

The practical difference between soft close, auto close and plain concealed hinges — what each costs you in feel and durability, and where a retrofit damper is the smarter buy.

Every carpenter asks this on the shop floor, usually holding one of each. The honest answer is that the difference matters in about half of the doors in a typical flat, and paying for it on the other half is money you could have spent on better channels.

What the three types actually do

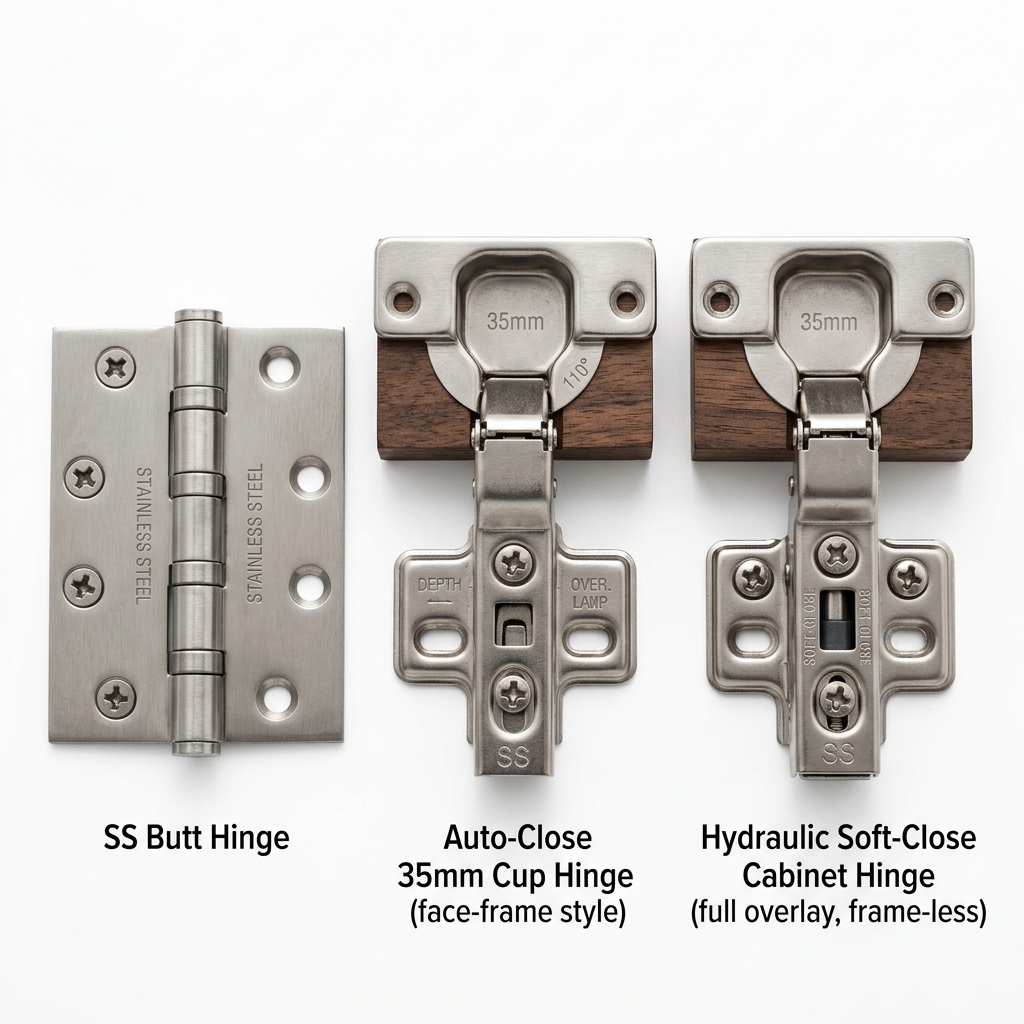
Plain concealed hinge. Opens and closes; nothing else. The door stays wherever you leave it. Cheapest by a wide margin.

Auto close. A spring inside pulls the door shut over the last 30–40mm of travel. The door won’t sit ajar. It closes with a knock — noticeable in a quiet kitchen, and hard on the carcass over years of use.

Soft close. A small oil-filled damper slows the last 40mm to a controlled stop. Silent, no rebound, and materially kinder to the cabinet. Most also auto-close, so you get both behaviours.

Where each one belongs

Location What to fit Why
Kitchen base and wall units Soft close Opened many times a day, often with full hands
Crockery and glassware units Soft close The rebound on an auto-close hinge is what cracks stacked plates
Wardrobe shutters Auto close Used a few times a day; the spring is enough
Utility, store, loft units Plain or auto close Nobody is listening, and nobody is watching
Anything above head height Soft close A heavy door swinging shut at face level is worth the extra

The crank number is not optional

Concealed hinges come in three cranks and they are not interchangeable:

  • 0° (full overlay) — the shutter fully covers the side panel
  • 8° (half overlay) — two shutters share one panel between them
  • 16° (inset) — the shutter sits inside the carcass, flush with the frame

Order the wrong crank and the doors will not line up, whatever you do with the adjustment screws. Count the shutters against the panels before ordering, or send us a photo of the carcass and we will tell you the split.

When a retrofit damper beats new hinges

If the cabinets already have working auto-close hinges and the complaint is only the noise, do not replace them. A clip-on damper kit fits onto the existing hinge arm and converts it to soft close at a fraction of the cost of new hardware, with no drilling and no new cup holes. It is the single most useful thing in this category and most people do not know it exists.

Where new hinges genuinely are the answer: the cup holes are worn oval, the doors have dropped and will not hold adjustment, or the existing hinges are a copy brand that has begun to fail across the whole kitchen at once.

What to check before you buy

  1. Cup diameter — 35mm is standard. Anything else and your existing holes will not take it.
  2. Opening angle — 110° is normal. Fit 165° where a drawer or basket needs to clear the open shutter.
  3. Clip-on vs fixed arm — clip-on lets you take the shutter off for painting without unscrewing the base plate. Worth it.
  4. Steel gauge and finish — the cheap copies are thin and the nickel goes patchy inside two monsoons. This is where a genuine Ozone or Hettich hinge earns the difference.

Bring the old hinge to the shop, or send a photo of it lying flat with the cup visible. We will match the crank and the angle, and tell you whether a damper kit does the job for less.

Updated 20 July 2026

02

How to Choose a Commode: S-Trap vs P-Trap Explained

S-trap, P-trap, wall-hung and floor-mounted — what the rough-in measurement means, how to measure it before you buy, and which type suits an Indian bathroom.

More commodes get returned over this than over any other reason, and it is always the same mistake: the trap type or the rough-in was never measured, and the new pan does not meet the existing outlet.

Ten minutes with a measuring tape prevents it.

S-trap or P-trap: where does the waste go?

S-trap — the outlet goes down into the floor. Standard in most older Indian construction. If you can see no pipe on the wall behind the commode, you have an S-trap.

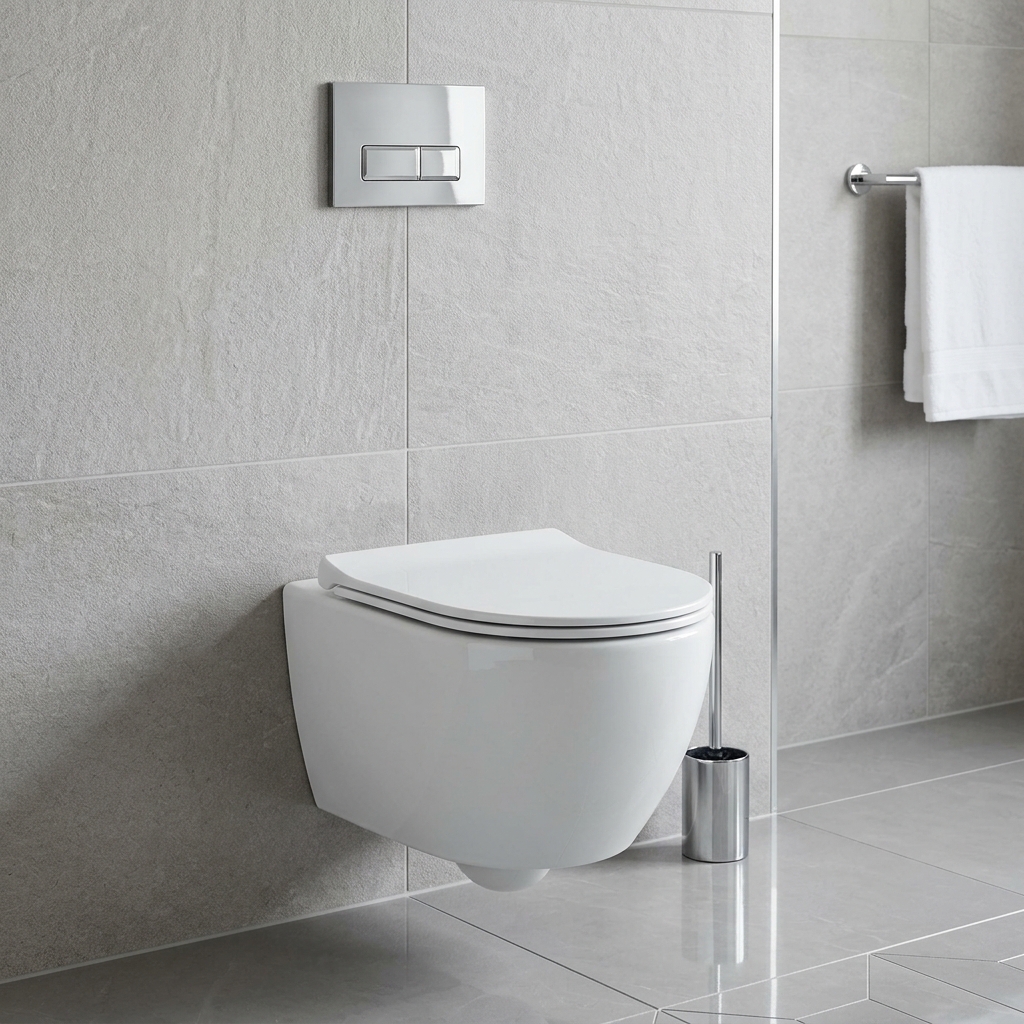
P-trap — the outlet goes back into the wall. Common in newer flats and in almost all wall-hung installations.

They are not interchangeable. A P-trap pan on an S-trap floor outlet needs a conversion fitting, which works but adds a joint and a slight height rise — acceptable as a repair, not something to design in.

The rough-in measurement, and how to take it

This is the number people miss.

For an S-trap: measure from the finished wall behind the commode to the centre of the floor outlet. That distance is the rough-in. In India it is usually 225mm or 300mm; imported pans are often 305mm (12“). Buy a 225mm pan for a 300mm outlet and it will not reach.

For a P-trap: measure from the finished floor to the centre of the wall outlet. Usually 180mm.

Measure to the finished surface, not the bare slab or bare brick — tile thickness moves this by 10–15mm and that is enough to matter.

Floor-mounted or wall-hung

Floor-mounted sits on the floor and takes its own weight. Simplest to fit, works with any existing plumbing, and the cistern can be external or concealed. This is the right default for most Indian bathrooms.

Wall-hung bolts to a concealed metal frame inside the wall, with the cistern hidden behind the tiling. It looks considerably better and the floor sweeps clean underneath. But it requires a stud wall or a built-out chase of about 200mm, a concealed cistern, and it must be planned before tiling — it is not a retrofit. If the wall is already tiled, the decision is made.

One-piece or two-piece

Two-piece — separate pan and cistern. Cheaper, easier to carry up stairs, easier to replace a cracked cistern without replacing the pan.

One-piece — moulded as a single unit. No joint to leak, no gap to clean, better looking. Heavier and more expensive, and a crack anywhere means replacing the whole thing.

Rimless is worth the money

A rimless pan has no hidden channel under the rim for water to run through, which is exactly where scale and staining build up in hard water. Delhi water is hard. Over five years a rimless pan stays visibly cleaner for the same effort, and the difference in price is smaller than it used to be.

The seat cover is not an afterthought

Check whether the seat is included — on many models it is priced separately. Soft-close (slow-fall) hinges are standard on better models and worth insisting on. Also check whether the seat is a standard size or proprietary to that pan, because a proprietary seat that cracks in year four can be difficult to source.

Before you order

  • Trap type: S or P
  • Rough-in measured to the finished wall or floor
  • Floor-mounted or wall-hung — and if wall-hung, is the wall built for it
  • Cistern: external, concealed, or included
  • Seat cover included, and soft-close
  • Water inlet position and the flexible connection length

Send us those six answers on WhatsApp — or a photo of the existing commode from the side with a tape held against it — and we will tell you what fits.

Updated 18 July 2026

03

Epoxy vs Cement Grout: Which One for Your Bathroom

Why cementitious grout goes black in a wet area, what epoxy grout actually costs across a real bathroom, and where cement grout is still the right call.

The grout is perhaps two per cent of what a bathroom costs and it is the first thing that makes the bathroom look old. Nobody notices grout that is working. Everybody notices grout that has gone grey-black along the shower floor after three monsoons.

Why cement grout fails in wet areas

Cementitious grout is porous. Water carries soap residue, body oils and hard-water minerals into those pores, and organic growth follows. Once it is in the pore structure no amount of scrubbing brings the colour back — you are cleaning the surface of something that is stained through.

It also shrinks slightly as it cures, which opens hairline gaps at the tile edge. In a shower those gaps are a direct path to the substrate.

What epoxy grout does differently

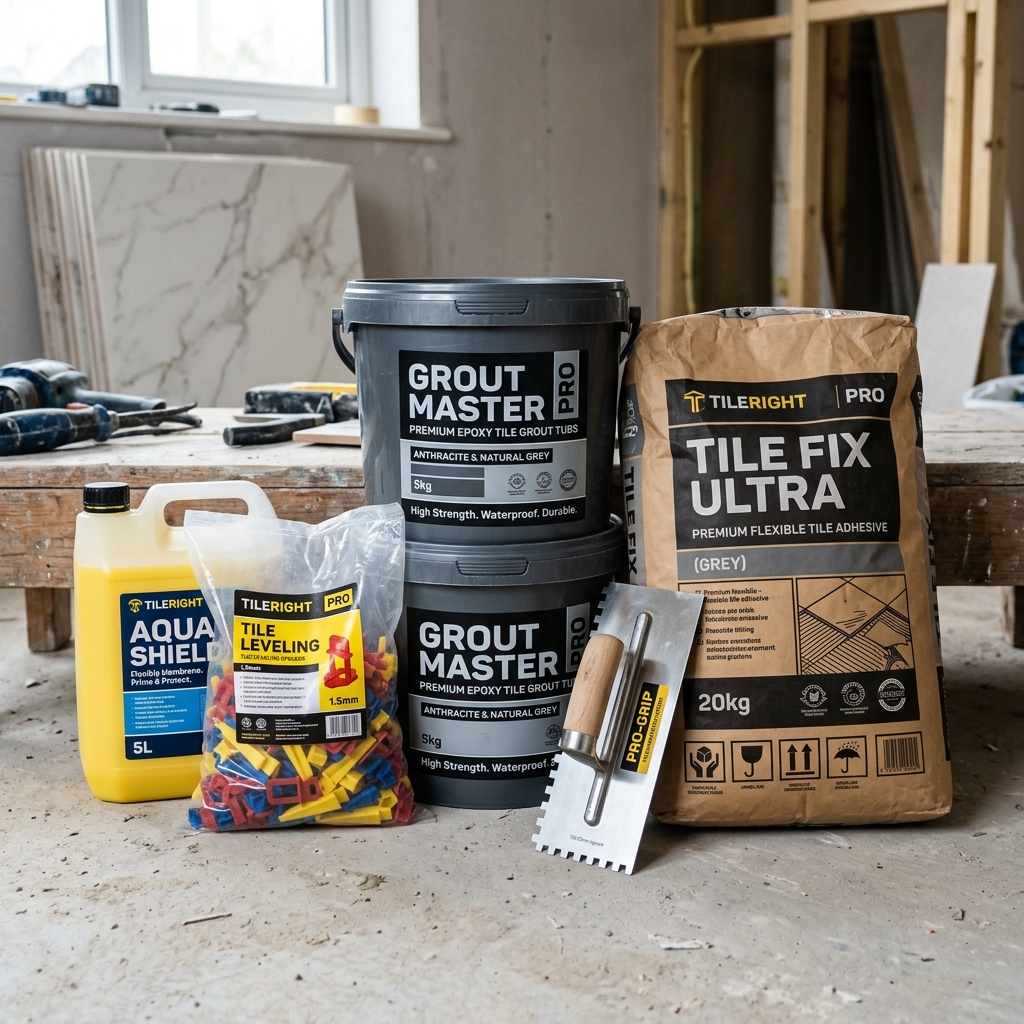
Epoxy grout is resin and hardener with a filler — no cement, effectively no porosity. It does not absorb water, does not stain from soap or oil, resists the acids in bathroom cleaners, and holds its colour. In a shower or on a bathroom floor it is a different category of product, not an incremental upgrade.

It is also considerably harder to work with. It sets fast, it is unforgiving if the excess is not cleaned off the tile face within the working window, and it costs roughly three to four times cementitious per kilogram.

What it actually costs on a real bathroom

Coverage depends on tile size and joint width, but for a typical 7×5 ft Indian bathroom with 600×600 floor tiles and 300×600 wall tiles, you are looking at roughly 4–6 kg of grout in total.

At that quantity the difference between cementitious and epoxy across the whole bathroom is smaller than the cost of one mid-range tap. Set against a tiling job that runs into tens of thousands, arguing about it is false economy.

The real cost of epoxy is labour. It needs a tiler who has used it before. A tiler learning on your bathroom will leave a haze on the tile face that is extremely difficult to remove once cured. Ask before you buy, and if your tiler has not worked with epoxy, either find one who has or use cementitious properly.

Where cement grout is still right

  • Dry areas — living room, bedroom, passage floors. There is no moisture to drive the failure, and epoxy is wasted money.
  • Large-format tiles with very tight joints in dry areas, where the grout is barely visible.
  • Where the tiler is not experienced with epoxy and cannot be replaced. A well-laid, well-sealed cementitious joint beats a badly-laid epoxy one.

If you do use cementitious in a wet area, buy a polymer-modified grade rather than plain sand-cement, and seal it. Plan to re-seal every couple of years — it works, it just is not maintenance-free.

Choosing the colour

Two rules that hold almost always:

  1. Match the tile to make the floor read as one surface and the room feel larger.
  2. Contrast deliberately to make a pattern — subway tile, a feature wall — read as intentional.

What fails is landing between the two: a colour half a shade off the tile looks like a mistake rather than a decision. And avoid brilliant white on a floor, in any material — it shows every footprint in a week.

Roff shade cards are on the counter at the showroom. Bring your tile sample and check it under real light; grout colour on a printed card and grout colour cured against your actual tile are not the same thing.

Before you buy

  • Wet area or dry area
  • Tile size and joint width, so we can work out the quantity
  • Has your tiler used epoxy before — ask them, not us
  • Tile sample in hand for the shade card

Send the tile size and joint width on WhatsApp and we will tell you the kilos.

Updated 15 July 2026

Still not sure?

Ask the question directly.

Send the measurements and we'll tell you what fits. Same-day answer during shop hours.

WhatsApp